Molding a Rubik’s Cube from Scratch is Harder Than You Think

EngBroken started with an ordinary cheap Rubik’s Cube and a question. What would happen if someone tried to build one completely on their own, without relying on factory parts or store shelves? That simple curiosity stretched into an eight-month project centered on injection molding every single piece.
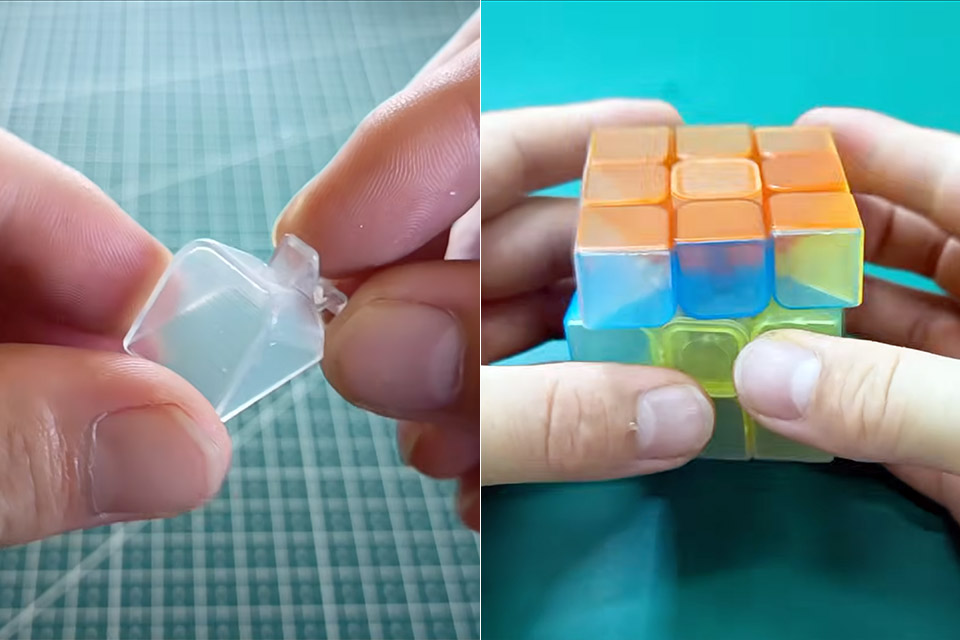
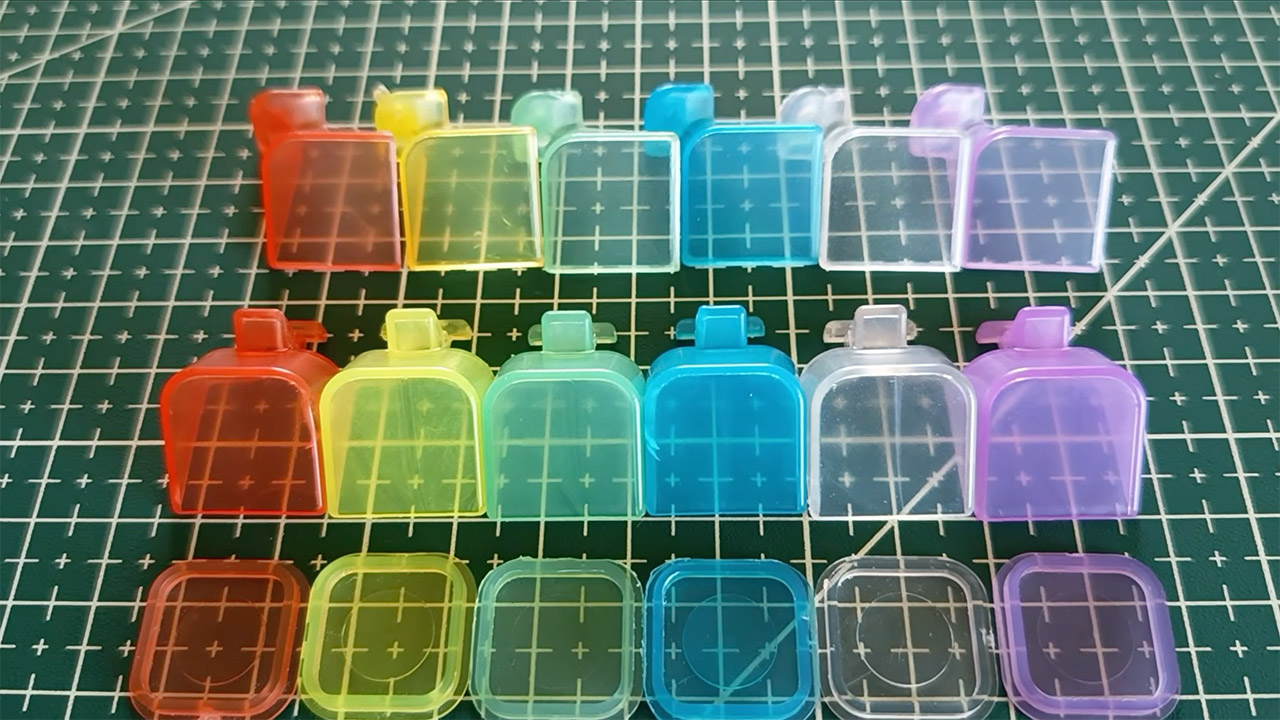
The cube was disassembled first, showing the critical components inside: the core mechanism that held everything together, as well as the edge and corner parts that interlocked and turned against one another. Each had a distinct shape, angle, and tolerance that allowed the puzzle to rotate and turn smoothly, without sticking or breaking apart. At this time, he also made precise measurements to ensure that the pieces did not bind when reassembled.
Sale

Rubik’s Cube, The Original 3×3 Cube, Problem-Solving Brain Teaser, Color-Matching Puzzle, Fidget Toy…
- The Original Rubik’s Cube: A combination of math, art, & science- the iconic Rubik’s Cube is here to challenge your mind; the 3×3 has fascinated…
- Twist, Turn, Learn: The Rubik’s Cube features 6 colored sides, each made up of 9 squares; once the sides are jumbled up, you twist, turn, & rotate…
- Great For Anxiety Relief: This fidget toy pack is not only a fun brain puzzle, this puzzle toy is great to keep your hands moving in stressful moments…
The details were then transferred to CAD software. He developed a digital model of every edge, corner, and center, with precise proportions down to the millimeter. As the project progressed, he realized he needed to make a few changes because, let’s face it, real-world plastic acts very differently than it does on a screen. The digital files then serve as the pattern for the molds used.
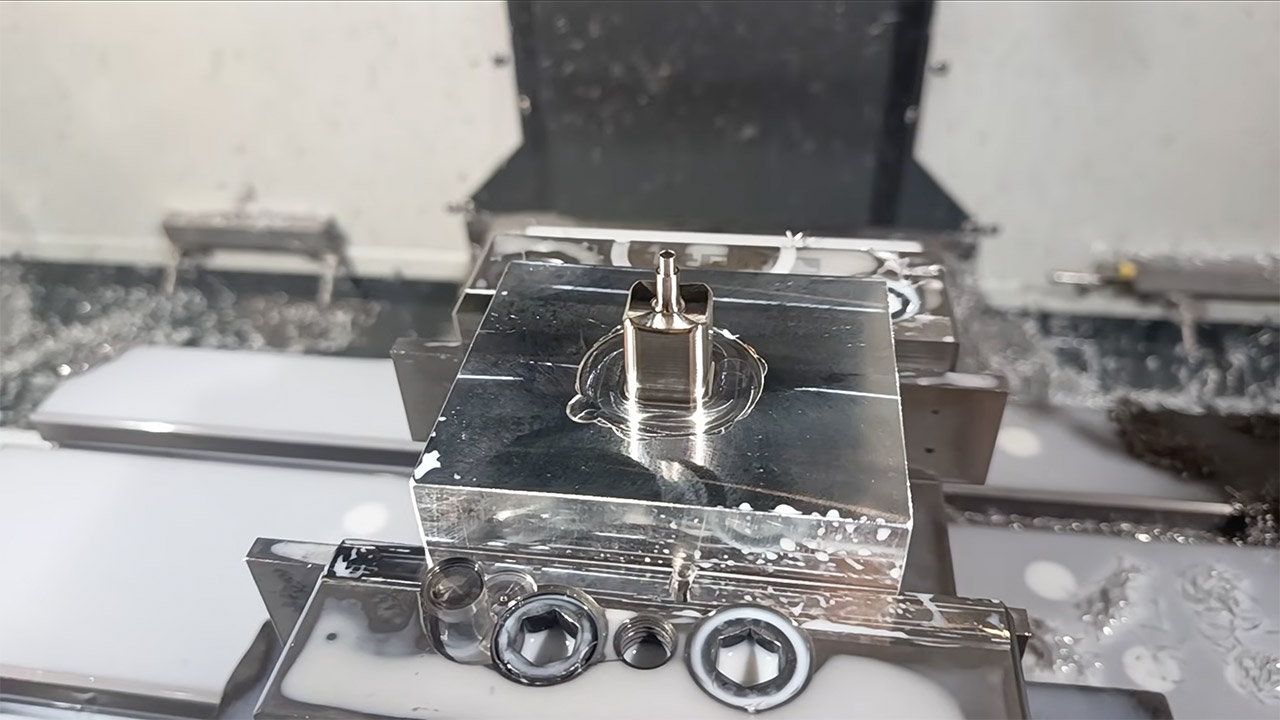
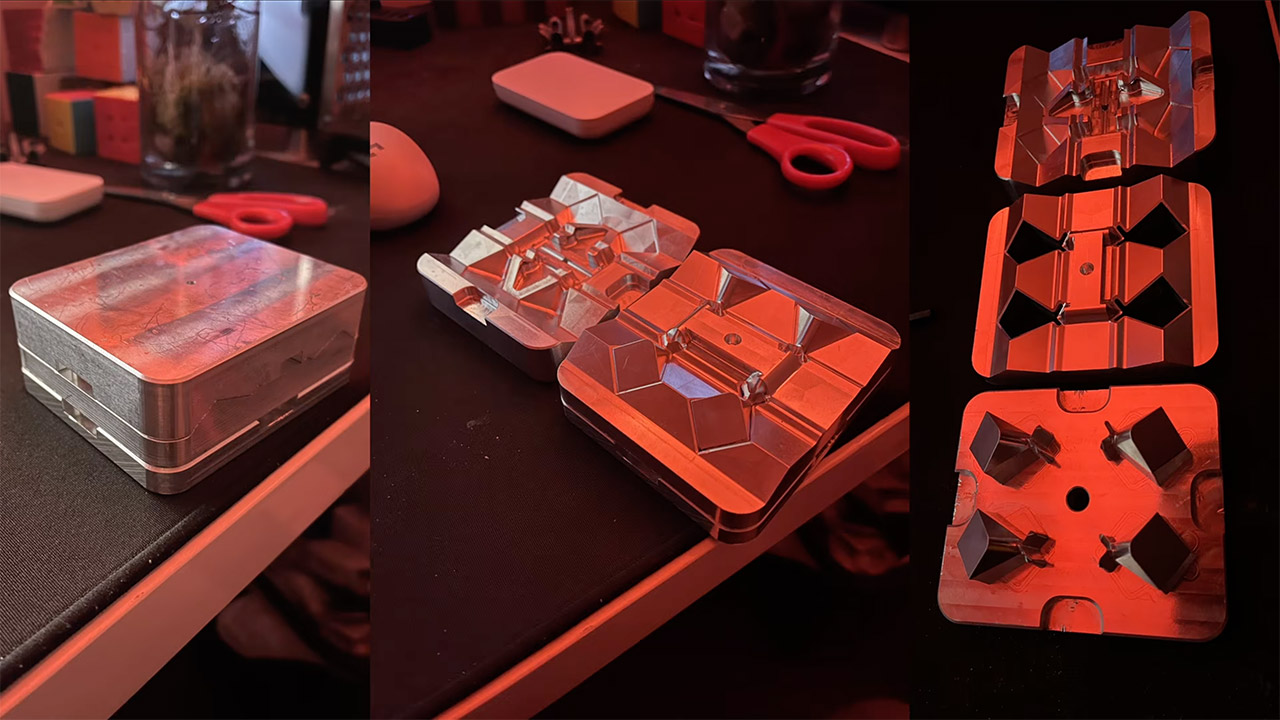
To create those molds, he used 6061 aluminum blocks cut out using a CNC machine, essentially carving out the precise cavity of the CAD model. Injection molding requires the molds to be able to take heat and pressure while still popping out the pieces neatly, so he paid great attention to all of the minutiae, including draft angles and ejector pins. In the end, he created three separate moulds: one for the corners, one for the edges, and one for the core components.
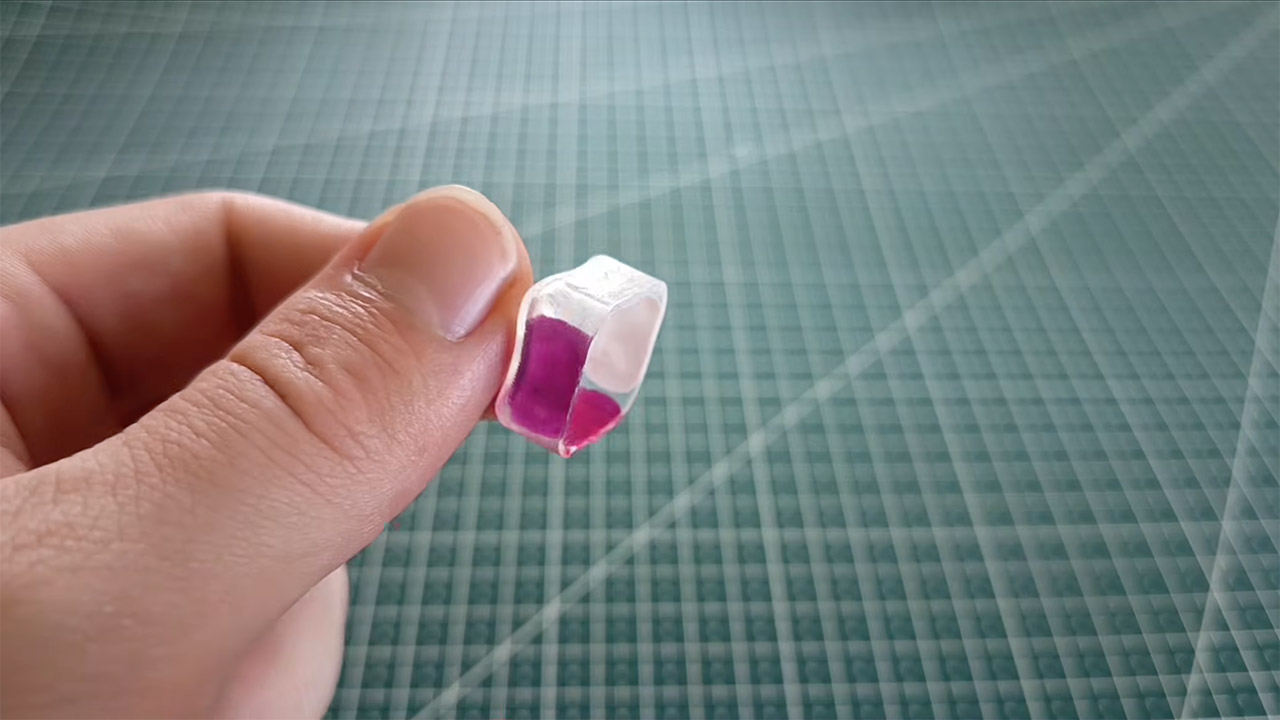
The following phase was plastic prep, which involved loading clear ABS pellets into the hopper. But here’s the thing: we didn’t only acquire our colors from the pellets. He cut up some colored 3D printer filament into little bits, blended them in, and voila, we had our color. The plastic to filament ratios were difficult to get correct, but he eventually figured it out, and our trial runs helped us get it perfect, consistent across batches.
The actual molding procedure needed the crew to have extremely stable hands and a great deal of patience. He’d heat the plastic and press it into the molds under pressure, then cool it at a predetermined rate so it didn’t bend or anything. At that point, it would pop out, and he’d have to smooth up the borders and remove any minor flashes. To be honest, there were a few batches where he discovered microscopic faults in the molds that required tuning or temperature adjustments.
Finally, he began assembling all of the pieces in the typical layered pattern, beginning with the central core and progressing to the edges and corners. He used UV-curing adhesive to hold everything together without adding bulk or interfering with the moving parts. Because he had the molds, creating extra cubes was simple. He ended up with several finished puzzles, all made from raw pellets and machined aluminum. If you can believe it, the total labor hours came to about $56,000 if he had been paying the minimum wage… and it doesn’t even include the aluminum or plastic supplies.
[Source]
Molding a Rubik’s Cube from Scratch is Harder Than You Think
#Molding #Rubiks #Cube #Scratch #Harder