3D All Workshop Spent Two Months Printing a Mechanical Calculator
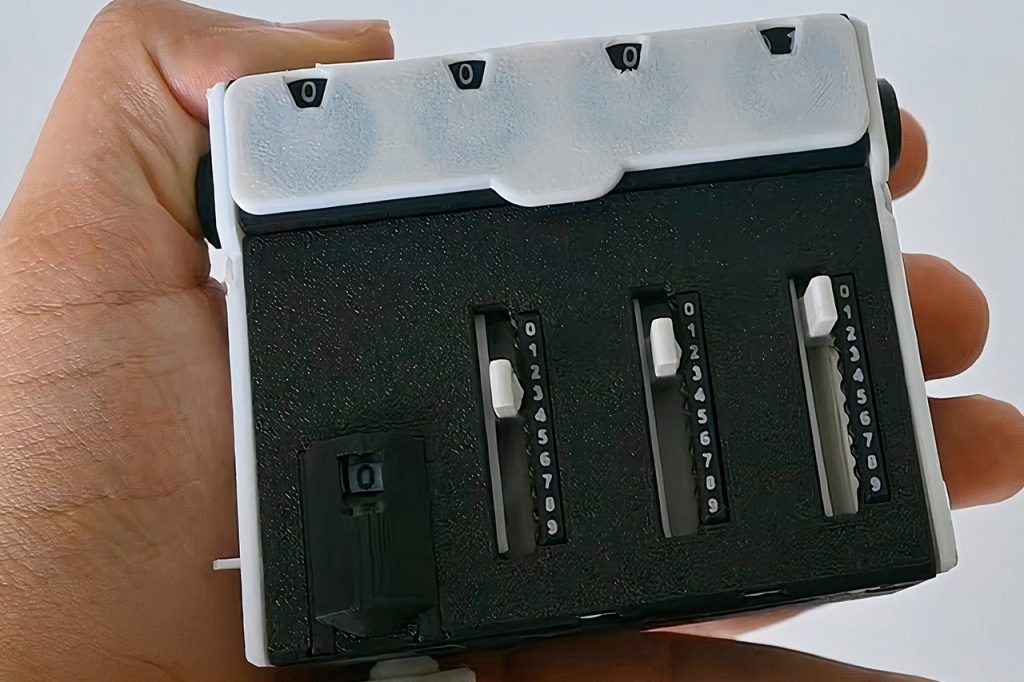
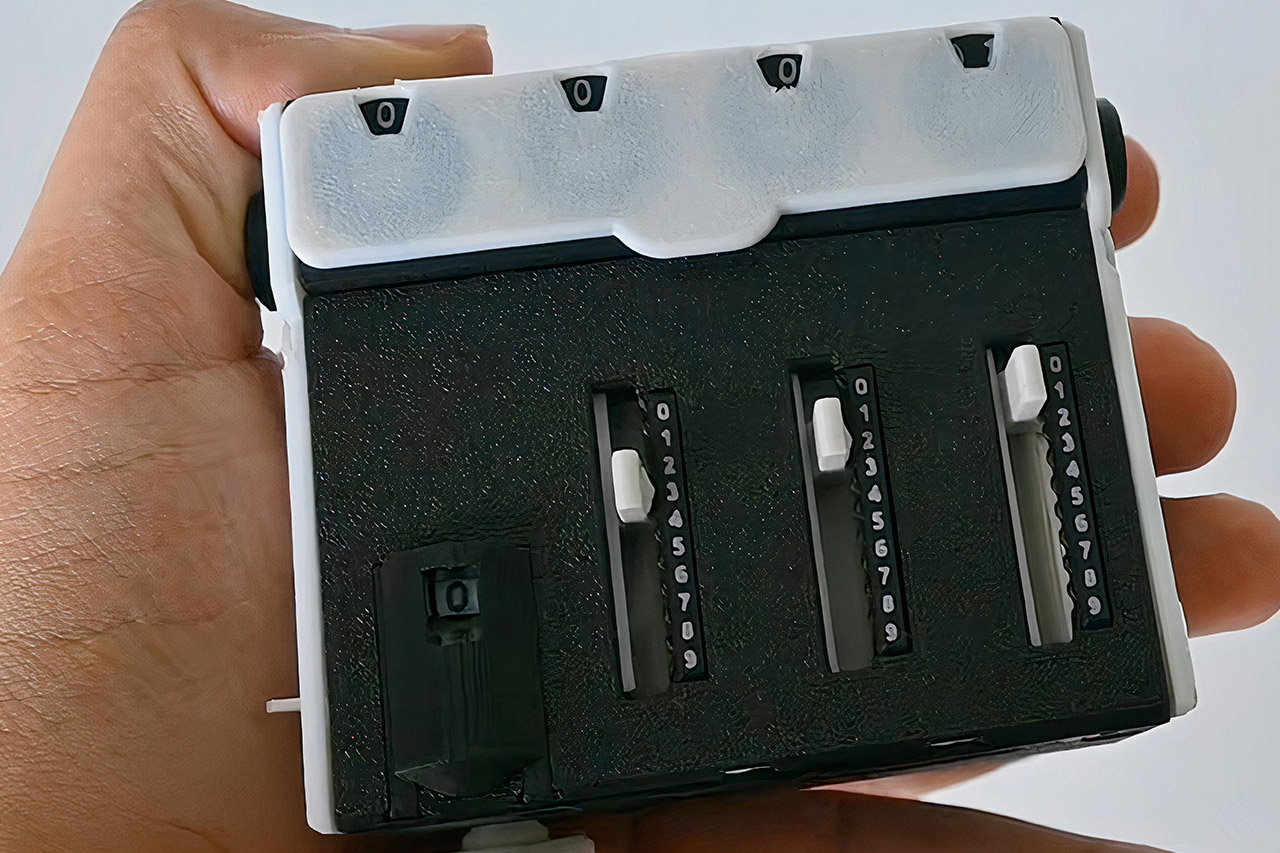
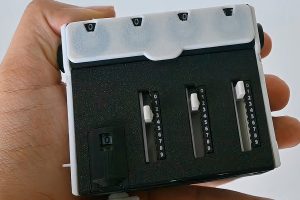
A pocket-sized adding machine that costs two dollars in filament and a dab of oil should not work. This one does. YouTuber 3D All Workshop spent two months designing, reprinting, and oiling a fully FDM mechanical calculator that uses no screws, no metal springs, and no electronics, then showed the whole fight in a video.
After 109 printed pieces and 90 grams of plastic, a hand crank begins to convert three-digit addition and multiplication into real-life motion. The input limit is 999, while the output can be as high as 9,999 in a seventeen-hour print period with a 0.2 mm nozzle. This small nozzle size was purposefully chosen to allow the tiniest gears to mesh well rather than become trapped grinding against one another. When the color is changed from black to white in the middle of the print, the digits on the wheels become readable even without painted numerals.
Sale

Bambu Lab A1 mini 3D Printer + LED Lamp Kit, Ready-to-Use for Beginners
- A1 mini + LED Lamp Kit for Creative Light Projects: Bring your ideas to life with the included LED Lamp Kit. Simply print compatible lamp models and…
- The Perfect 3D Printer for Beginners: A1 mini 3D Printer is designed to make 3D printing easy from day one with automatic calibration, simple setup…
- Experience the Bambu Lab Ecosystem: Access MakerWorld’s huge library of ready-to-print models, manage prints through the Bambu Handy app, and enjoy…
Leibniz’s stepped drum is the driving force behind it all. Inside each drum, there are rows of neatly packed teeth that expand progressively from one to nine, allowing a small gear to travel down the drum and select a digit by simply counting how many teeth it meets as the crank revolves. There are three drums set up side by side to cover hundreds, tens, and ones. A full rotation of the handle feeds the selected teeth into the bevel gears beneath the display wheels. As a consequence, the number you entered displays directly on the front. You may add a second number in the same way, and the wheels will just continue from where they stopped. Check out the video where 321 + 156 mysteriously settles on 477 without using a single battery.
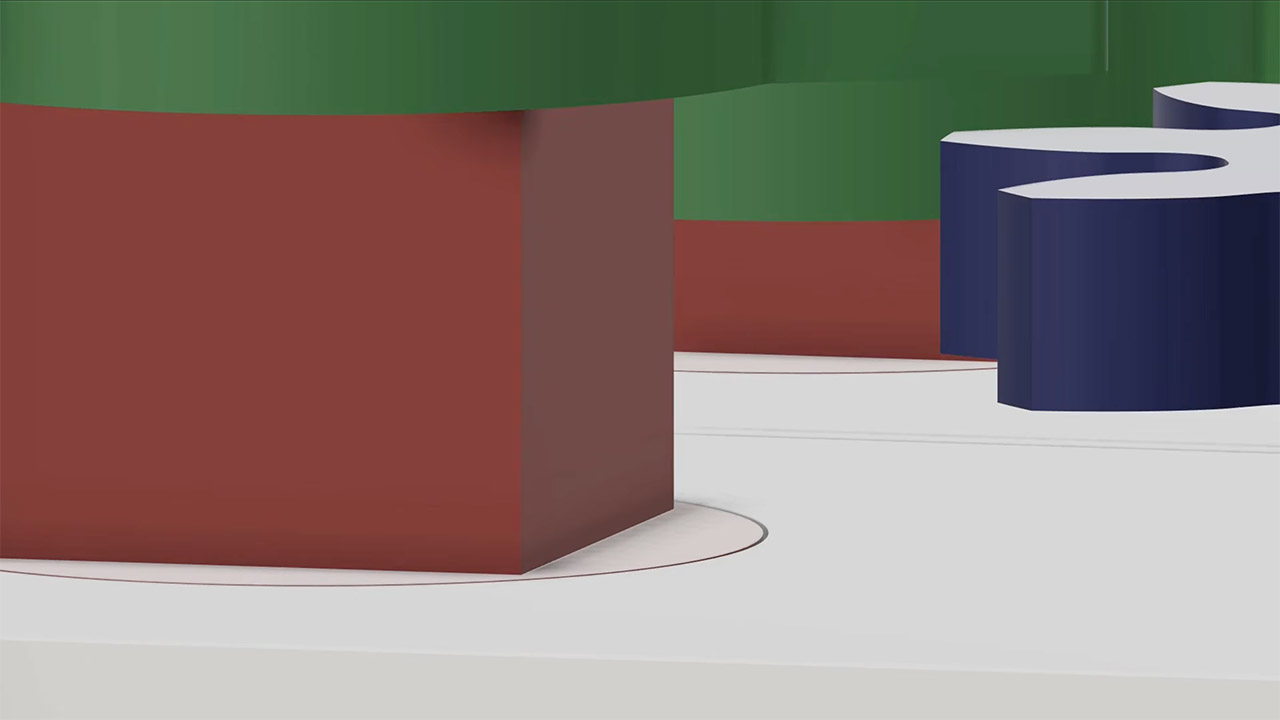
Carry is one of the most common locations where a printed machine fails. When a wheel rolls over from 9 to 0, a little ramp engages and pushes a gear down, allowing the following place value to naturally pick up that extra single tooth. This extra tooth is timed to a lovely quiet space on the drum where there are no teeth at all, allowing the carry to occur without interfering with the number you just typed. Early versions were a bit of a nightmare because the wheels spun the wrong way, required extra gears, and still got out of rhythm. Then followed the addition of plastic springs, which were produced with the rest of the machine and eventually held the sliders and gears firm enough to withstand a complete crank. A ratchet was also added to keep backlash from disrupting the drum’s timing and causing the drums to become out of rhythm with each spin.
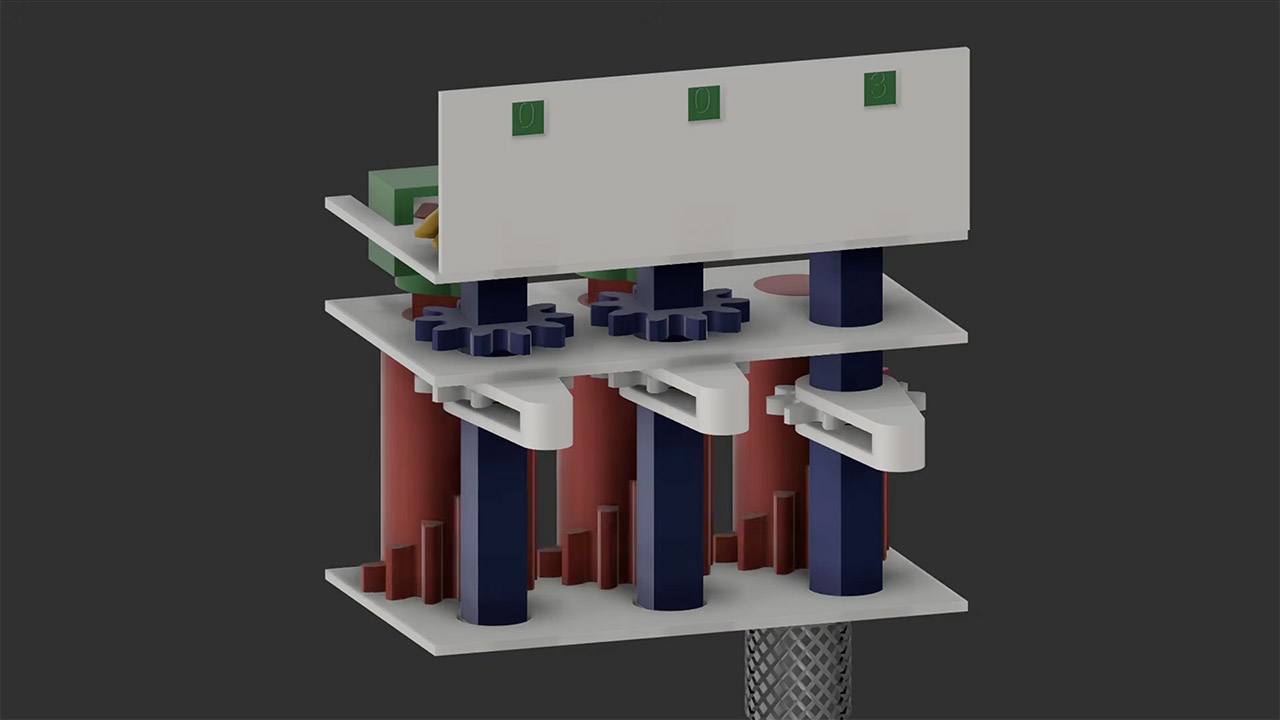
Multiplication is essentially a fancy way of expressing repeated addition with a counter, and a fourth drum has been added to track how many times the handle is turned. All you have to do is flip a lever, set 21, crank it four times, and your display will read 84. If you want to put it to the test, try something a little more difficult, such as 421 times 4, which puts a lot of strain on the carry mechanism but still ends up at 1,684. The best thing is that the reset is a very easy physical process: you simply pull a lever, and a sliding beam unhooks the display wheels from their bevel gears, allowing you to spin them back to zero manually. The counter also lifts up and rotates freely.
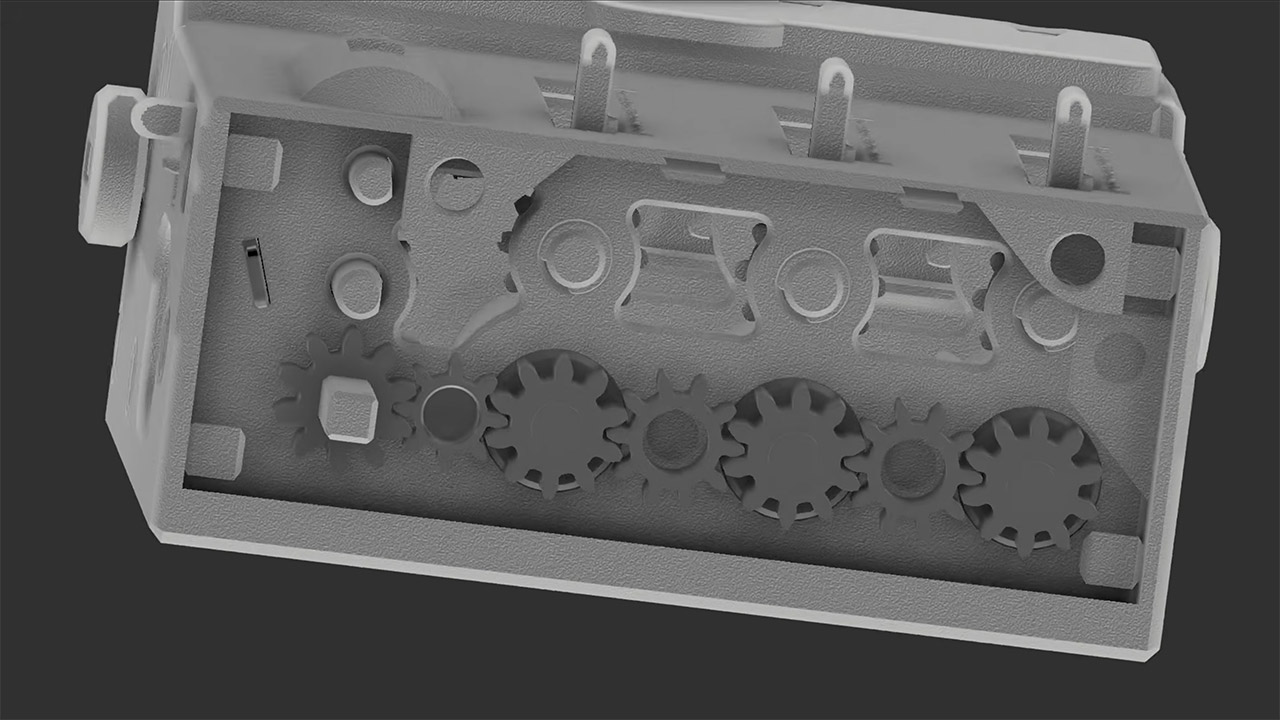
One of the most difficult issues was dealing with layer lines, which nearly killed the project since tight fits would seize and loose fits would slip all over the place. To alleviate this problem, supports were avoided wherever feasible because they just generate friction, which is difficult to eliminate on a gear train this small. When pieces were to be supported, they were done in such a way that friction was kept to a minimum. Any broken pieces were subsequently separated, thickened, or combined to make them function properly. It took a remarkable 100 redesigns before everything fell into place and the stack operated properly. The idea was similarly inspired by Curta calculators and other ancient metal antiques, but the goal was to build something less expensive and totally printable. The parts needed to be just large enough to withstand FDM printing while remaining reasonable in size.
[Source]
3D All Workshop Spent Two Months Printing a Mechanical Calculator
#Workshop #Spent #Months #Printing #Mechanical #Calculator